Adding Straight Line Segments
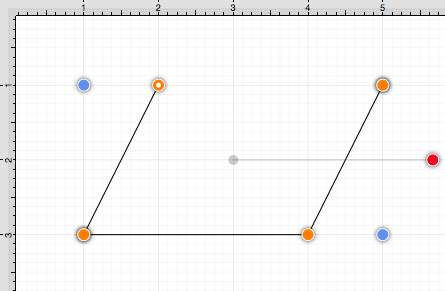
To create a Straight Line Segment, perform a single tap at the starting point and then again at the corresponding line end point. For example, the objective of drawing a parallelogram could be accomplished with the Path Tool.
The following screenshots and description outlines the steps required for creating a parallelogram with this tool.
-
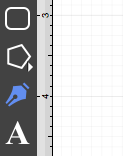
Select the Path Tool.
-
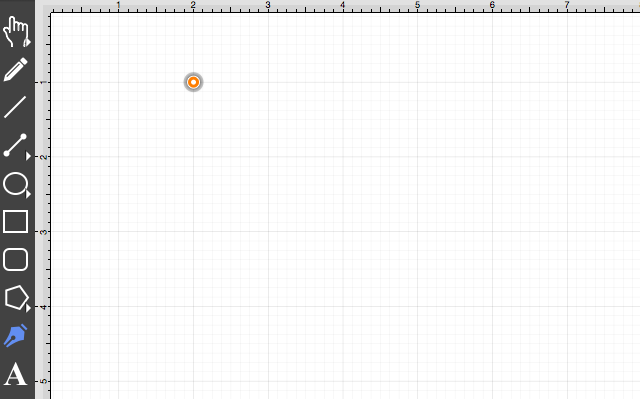
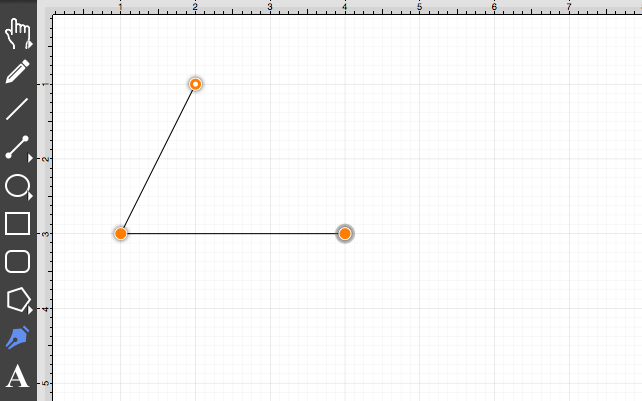
Click on the drawing canvas at the location where the starting point should be established for the path. An orange handle with a white dot will appear in this specific location to signify the starting point of the path.
-
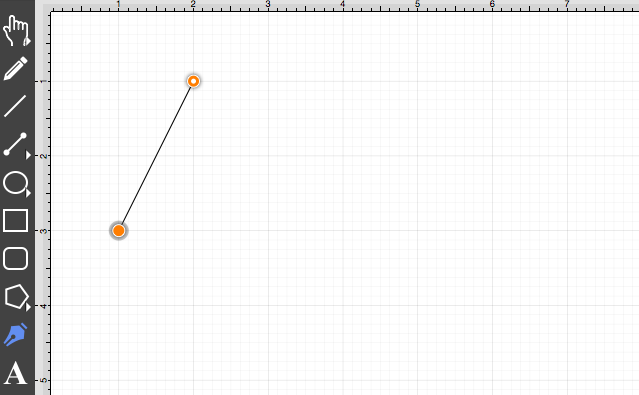
Click on the drawing canvas at the location where the second corner of the parallelogram will be. This action draws a line between these two set points. It also creates a second handle (orange with no dot) at the point where the first segment ends and the second one begins.
-
Click on the drawing canvas at the location where the third corner of the parallelogram should be. As before, the action will cause a line to be drawn from the last point to the newest point and add an orange handle to the drawing.
-
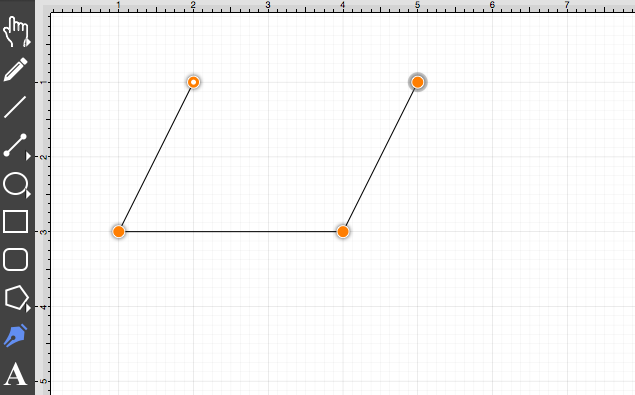
Click on the drawing canvas at the location where the fourth corner should be. The same end results are provided as previously discussed for this additional line segment.
-
Perform a Click on the start point (orange handle with white dot) to automatically draw the last line to connect the first point to the last (i.e. closing a path) The action closes the shape and exits the path tool when Sticky Mode is not enabled. Once a path has been created and selected, a few handles will be seen in addition to the path point handles created in the steps above. The blue handles are “bounds handles” that allow for shape resizing with a dragging action. The red handle is a “rotation” handle, which allows for shape rotation around it’s center point.
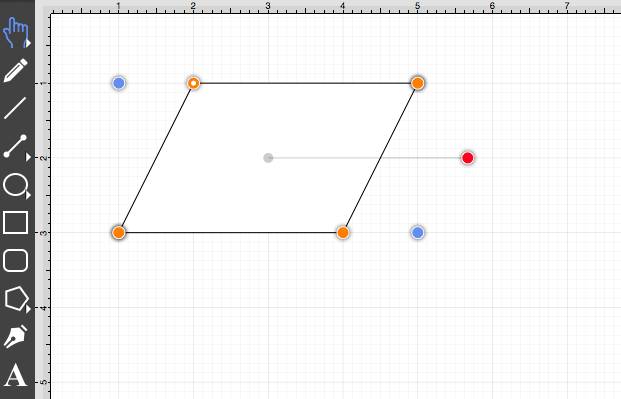
A Double Click in the drawing view creates a path as illustrated in the screenshot below.
