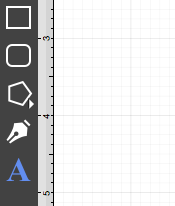
Text Tool
The Text Tool can be used to create a text area within a drawing. To use this tool, simply select it and perform a Click/Drag combination at the point in the drawing canvas where one of the bounding corners of the text area should be. Then drag in any direction and release the Click action where the other bounding corner to should be located.
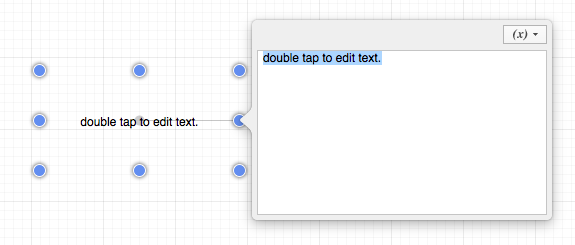
After a text area has been added, the image shown below containing the default text “Double tap to edit text” will appear.
Double Clicking on a figure also causes the text editor to appear for entry.
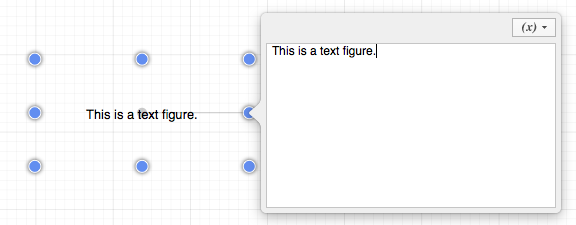
Entered text is reflected in the drawing view to provide instant feedback as to how the completed text will look, will wrap, etc…
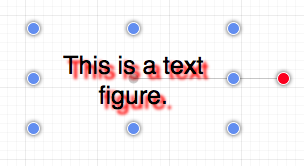
The text figure is different from all other types of figures because it only shows text. It cannot have a border (stroke) or be filled; however, displayed text can include a shadow.
Adding Text to a Figure
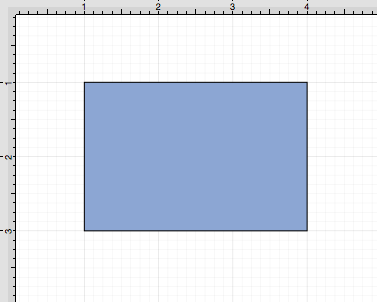
To add text to the inside of a of rectangle with a border, a circle, or a rounded rectangle:
-
Use one of the drawing tools to create a figure.
-
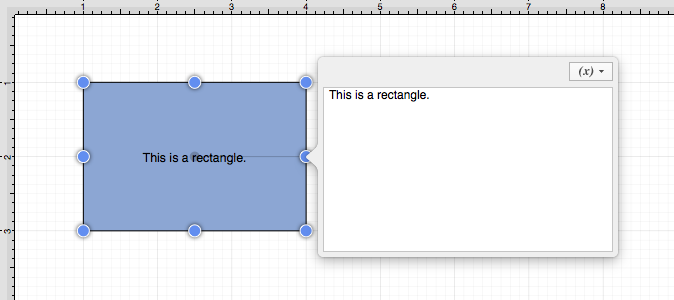
Double Click on the desired figure and the editor shown above will open.
-
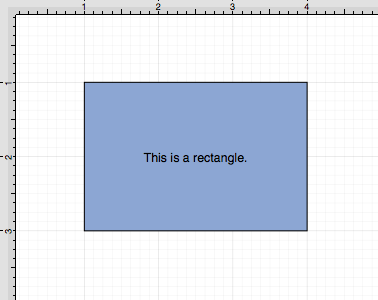
Enter text and then click on the figure area to close the editor.
For more information on how to change the font, text size, text color and alignment, see the Handling Text section.
To simplify things, the text tool also supports adding a text area by simply clicking (without dragging) in the drawing area.